No oven. No candy thermometer. No special equipment. About 45 minutes, most of which is waiting for things to chill.
Peanut butter balls sit in a category of homemade food that punches well above its complexity level — they look like something from a chocolate shop, require almost no technical skill, and produce a finished candy that people consistently assume was purchased rather than made at home.
They’re also a term that covers more ground than most people realize. The classic chocolate-coated version is one thing. Buckeyes are a specific regional variation. Peanut butter energy balls are a completely different product that shares a name but a different purpose. Peanut butter protein balls are different again. Each version is worth understanding on its own terms — which is what this post does.
Why Peanut Butter and Chocolate Keep Working Together
This combination appears in so many candies for a specific reason: the two ingredients offset each other rather than competing.
Peanut butter contributes fat, salt, and a slightly bitter roasted note. Chocolate contributes sweetness and creaminess. The salt in the peanut butter interacts with bitter taste receptors in a way that makes the chocolate’s sweetness register more sharply — it’s the same mechanism that makes salted caramel work. You’re not just tasting two things at once; each ingredient is actively making the other more interesting.
The texture contrast matters too. A firm chocolate shell around a soft, dense peanut butter center produces a different eating experience than either element alone. That contrast is part of why peanut butter balls hold up as a candy in a way that peanut butter fudge doesn’t — there’s more happening in a single bite.
Dark chocolate produces the most complex result here. The bitterness genuinely pushes back against the sweet filling rather than adding more sweetness on top of it. Milk chocolate is friendlier and more approachable. If you’re making these for a group and can’t decide — make one batch of each. Whichever disappears first tells you something useful about your audience.
Four Versions That Get Lumped Together — and Shouldn’t Be
Classic peanut butter balls
The original candy version. Peanut butter, powdered sugar, and softened butter mixed to a firm dough, rolled into balls, chilled, then fully coated in chocolate. Powdered sugar is non-negotiable here — granulated sugar doesn’t dissolve in a cold filling and leaves a gritty texture that you can feel in every bite. This is the version that belongs on a holiday candy tray or in a gift tin.
Buckeyes
A variation from Ohio, named after the buckeye tree nut the finished candy resembles when you look at it. Same filling as classic peanut butter balls, but each one is dipped with a toothpick rather than a fork and only coated three-quarters of the way up, leaving a deliberate circle of exposed peanut butter at the top. The look is intentional and recognizable — it’s not a shortcut, it’s the whole point.
Peanut butter energy balls
An entirely different product. Peanut butter energy balls use oats, honey or maple syrup, and peanut butter as the base — sometimes with chocolate chips, chia seeds, or flaxseed folded in. No powdered sugar. No butter. No chocolate coating. They’re not a dessert and they don’t taste like one.
The honest framing: a classic peanut butter ball is a candy you eat because you want a treat. A peanut butter energy ball is something you make on Sunday and eat before a workout or as a 3pm snack when you want something that keeps you going. Both are good. They’re serving completely different needs, and calling them the same thing causes real confusion when people try to substitute one for the other in a recipe.
Peanut butter protein balls
The energy ball format with protein powder added — whey, pea protein, and hemp are the most commonly used. Peanut butter protein balls are the version popular with people tracking macronutrients or looking for post-workout food that satisfies a chocolate craving without being dessert.
The practical note: protein powder changes the texture of the mixture. Some powders absorb moisture and make the dough dry and crumbly rather than rollable. Test your specific powder with a half-batch first. If the mixture won’t hold together, add an extra tablespoon of peanut butter or honey before committing to a full batch. This is the step most recipes don’t mention and the reason peanut butter protein balls fail more often than they should.
How to Make Classic Peanut Butter Balls
The method is short. The places where quality varies are predictable and avoidable.
- The filling: One cup of creamy peanut butter, two tablespoons of softened butter, one and a half cups of powdered sugar. Mix until smooth and firm — it should hold a ball shape when pressed without sticking to your palms. Too sticky: add powdered sugar a tablespoon at a time. Too dry or crumbly: add a small amount of peanut butter. Natural peanut butter works but the oil separation can make the texture inconsistent; commercial creamy peanut butter is more reliable.
- Roll and chill: Portion into balls roughly one tablespoon each — a small cookie scoop makes this faster and more consistent. Roll until smooth and place on parchment. Refrigerate for at least 30 minutes. The colder the filling when you dip it, the cleaner and more even the coating will be.
- Melt the chocolate: Chocolate melting wafers work better than chips for this application. Melt in 20-second microwave intervals, stirring between each round. Stop while small pieces are still visible and stir until smooth — the residual heat finishes the job. Chips work but tend to produce a thicker coating that sets less cleanly.
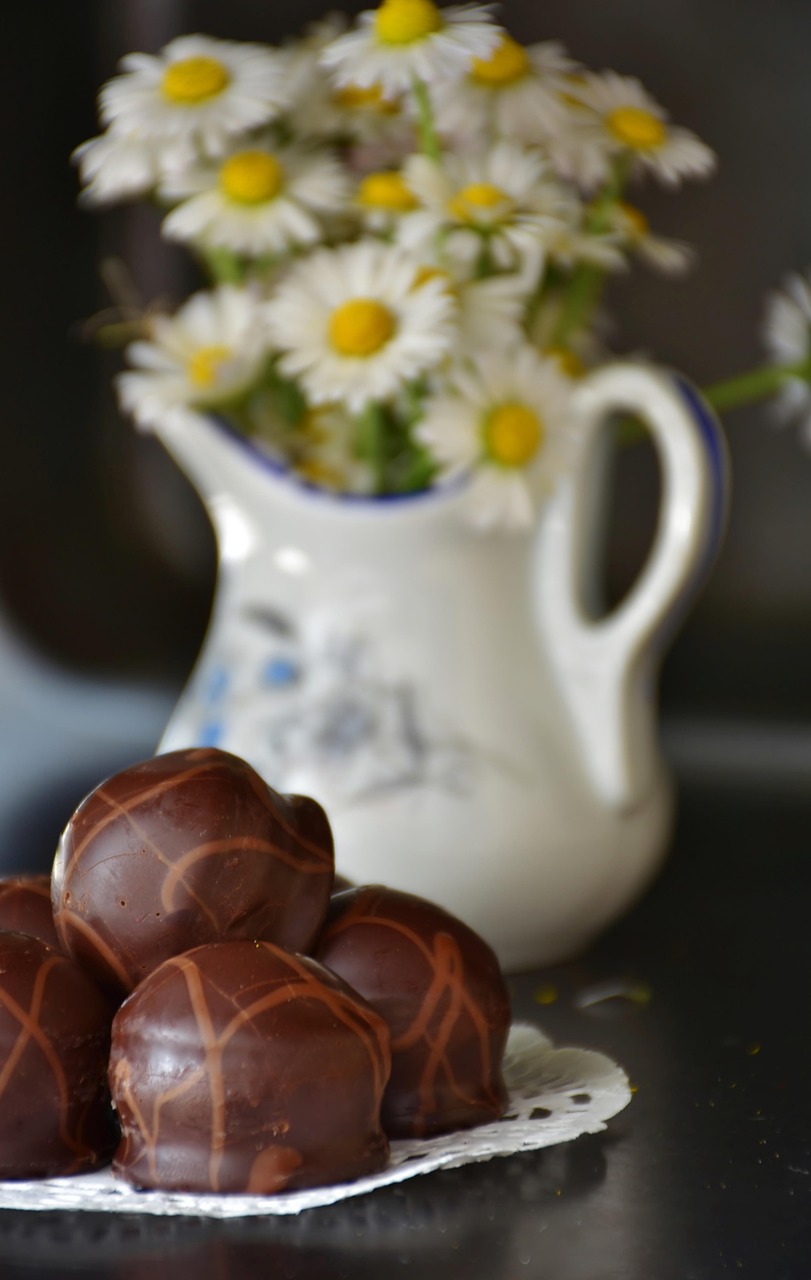
- Dip and tap: Use a fork or dipping tool. Submerge each ball, lift it out, and tap the fork firmly against the rim of the bowl two or three times before placing it on fresh parchment. The tapping sheds excess chocolate and produces a thinner, more even shell. Skip this step and you get thick bases and uneven surfaces. It takes three extra seconds per ball and makes a visible difference to the finished result.
- Set at room temperature: 20 to 30 minutes. The fridge is faster but causes condensation when the candy comes back to room temperature, which clouds and softens the chocolate surface. Room temperature setting produces a cleaner finish unless you’re genuinely short on time.
The Holiday Tin That Turned Into a Tradition
A home baker started making peanut butter balls as Christmas gifts five years ago, mostly because she enjoys making them and a tin of homemade candy is one of the more genuinely useful gifts to bring to people who are hard to shop for.
First year, she filled the tins with peanut butter balls and layered chocolate covered cherries underneath for visual contrast and variety. The combination landed better than she expected — the richness and density of the peanut butter filling and the bright, slightly tart sweetness of the cherries balanced each other cleanly. People weren’t just eating one type and leaving the other; they were alternating.
Multiple recipients asked for the same tin the following year. A few specified they wanted more cherries. A few wanted more peanut butter balls. She made larger batches of both.
What the response told her: mixed candy tins work better than single-treat tins not just because there’s variety, but because familiar things make unfamiliar things approachable. Several people said they’d never bought chocolate covered cherries themselves but loved them in the tin. The peanut butter balls were the draw; the cherries were the discovery.
That pairing — peanut butter balls and chocolate covered cherries — is now a standing recommendation. The contrast in flavor, texture, and visual appearance makes the whole tin look more considered.
Variations That Add Something
The plain fully-coated version is always right when the filling and chocolate are good. These additions each change a specific thing:
- Buckeye finish: Dip with a toothpick, coat three-quarters up, remove the toothpick immediately while the chocolate is still soft. The small hole left by the toothpick closes as the chocolate sets. The exposed peanut butter circle is visually distinctive and makes it immediately clear what’s inside — which matters on a mixed candy tray.
- Sea salt finish: A small pinch of flaky salt on the wet chocolate coating before it sets. This is the version that generates the most comments. The salt amplifies the chocolate flavor and sharpens the contrast with the sweet filling in a way that makes people reach for a second one without quite knowing why.
- White chocolate coating: White melting wafers instead of dark or milk. Sweeter, creamier, less contrast. The pale finish looks striking on a platter and creates obvious visual variety when you’re displaying multiple types. Worth making if you’re doing a large batch for an event.
- Crushed peanut exterior: Roll the freshly dipped ball in finely crushed roasted peanuts before the chocolate sets. Adds a second crunch layer, strengthens the peanut flavor on the first bite, and makes the finished candy look considerably more polished on a gift tray.
Making Them Worth Giving
Classic peanut butter balls keep for up to two weeks in an airtight container in the refrigerator. That shelf life is one of their practical advantages for holiday batches — you can make them a week ahead without any quality loss, which takes pressure off the days immediately before an event or gathering.
For gifting, layer them in a tin with parchment between layers. Pair with chocolate covered cherries, dipped pretzel rods, or chocolate bark for visual variety and flavor contrast. A mixed tin that looks thoughtful is a function of contrast — different shapes, different coatings, different flavor profiles sitting alongside each other.
The effort here is modest. The result — a finished candy that reads as more skilled and considered than the process actually requires — is one of the better returns in home confectionery. Learn the tapping step, use the right chocolate, and keep them cold until serving. That covers most of what separates a good batch from a great one.